cadence
Free app from CineLabs · Pro suite coming soon
Sync your clips to the music on your Mac. Export XML and finish in Resolve, Premiere Pro, or Final Cut.
Intel Mac version coming soon
Two ways to work.
Pick one mode per project. Switch whenever you start something new.
Fastest
Auto
Cadence reads the waveform and places clips on the beat after you rate shots and dial in how the edit should feel.
Rate your clips
Hover any thumbnail and mark it skip, hero, or keep. Auto uses those choices when it builds the timeline.
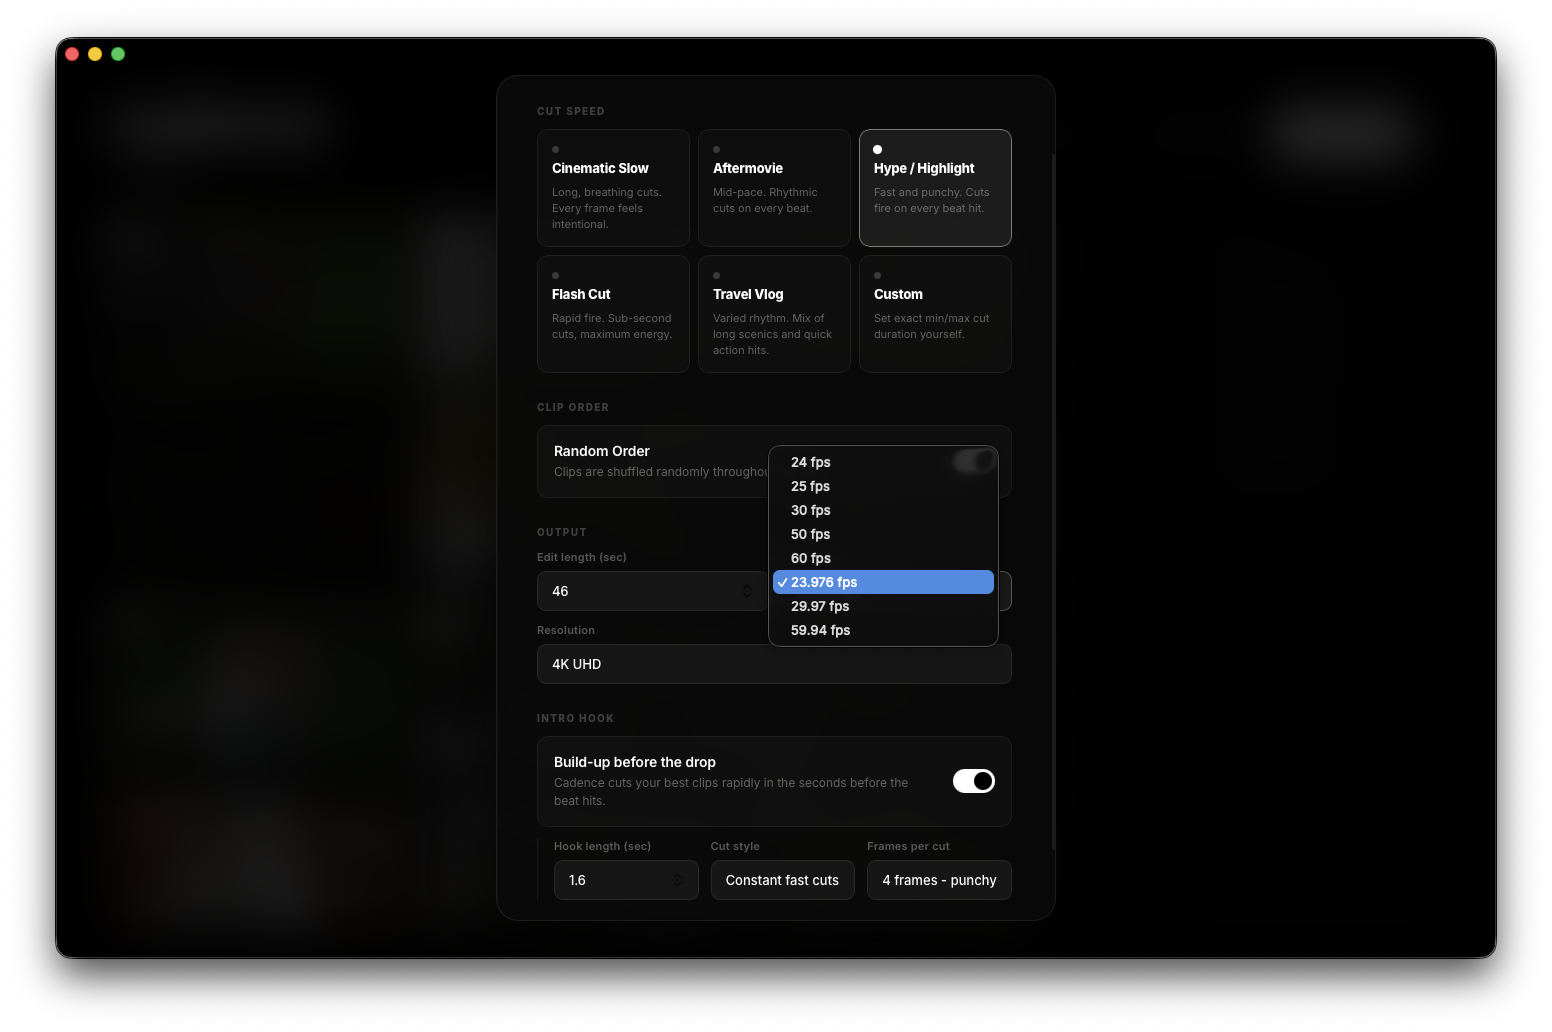
Configure the cut
Set edit type, resolution, timeline frame rate, length, hooks, and delivery options so the XML lines up with how you finish and deliver.
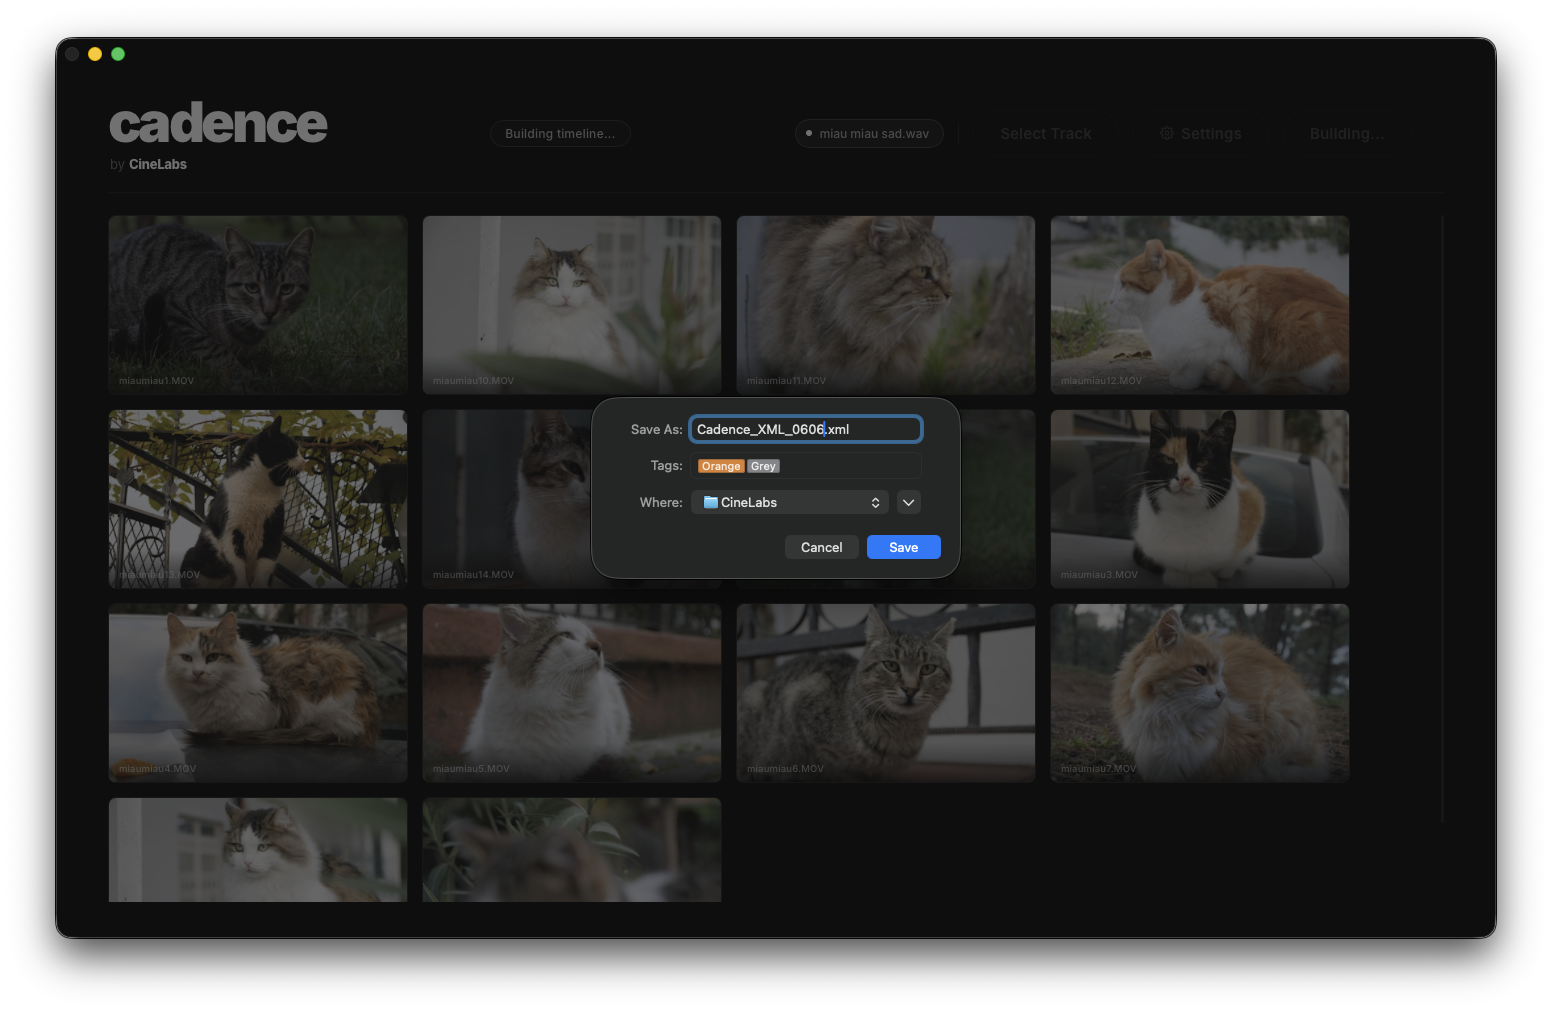
Export
Export XML and open the timeline in your NLE.
Need to choose which clip hits every beat? Use Markers on your next project.
Manual
Markers
You mark the track while it plays, then assign clips to each marker in order. Nothing lands on the timeline until you attach footage.
Mark while you listen
Press M on the beat or double-click the waveform. Vertical lines are the moments you marked. They stay empty until you assign a clip.
Assign in sequence
Select a marker so it glows, click a clip in the grid, then continue. Cadence moves you to the next marker that still needs footage.
Beat markers
Optional: load beats from analysis, then tweak the map or add markers by hand.
Do this in order.
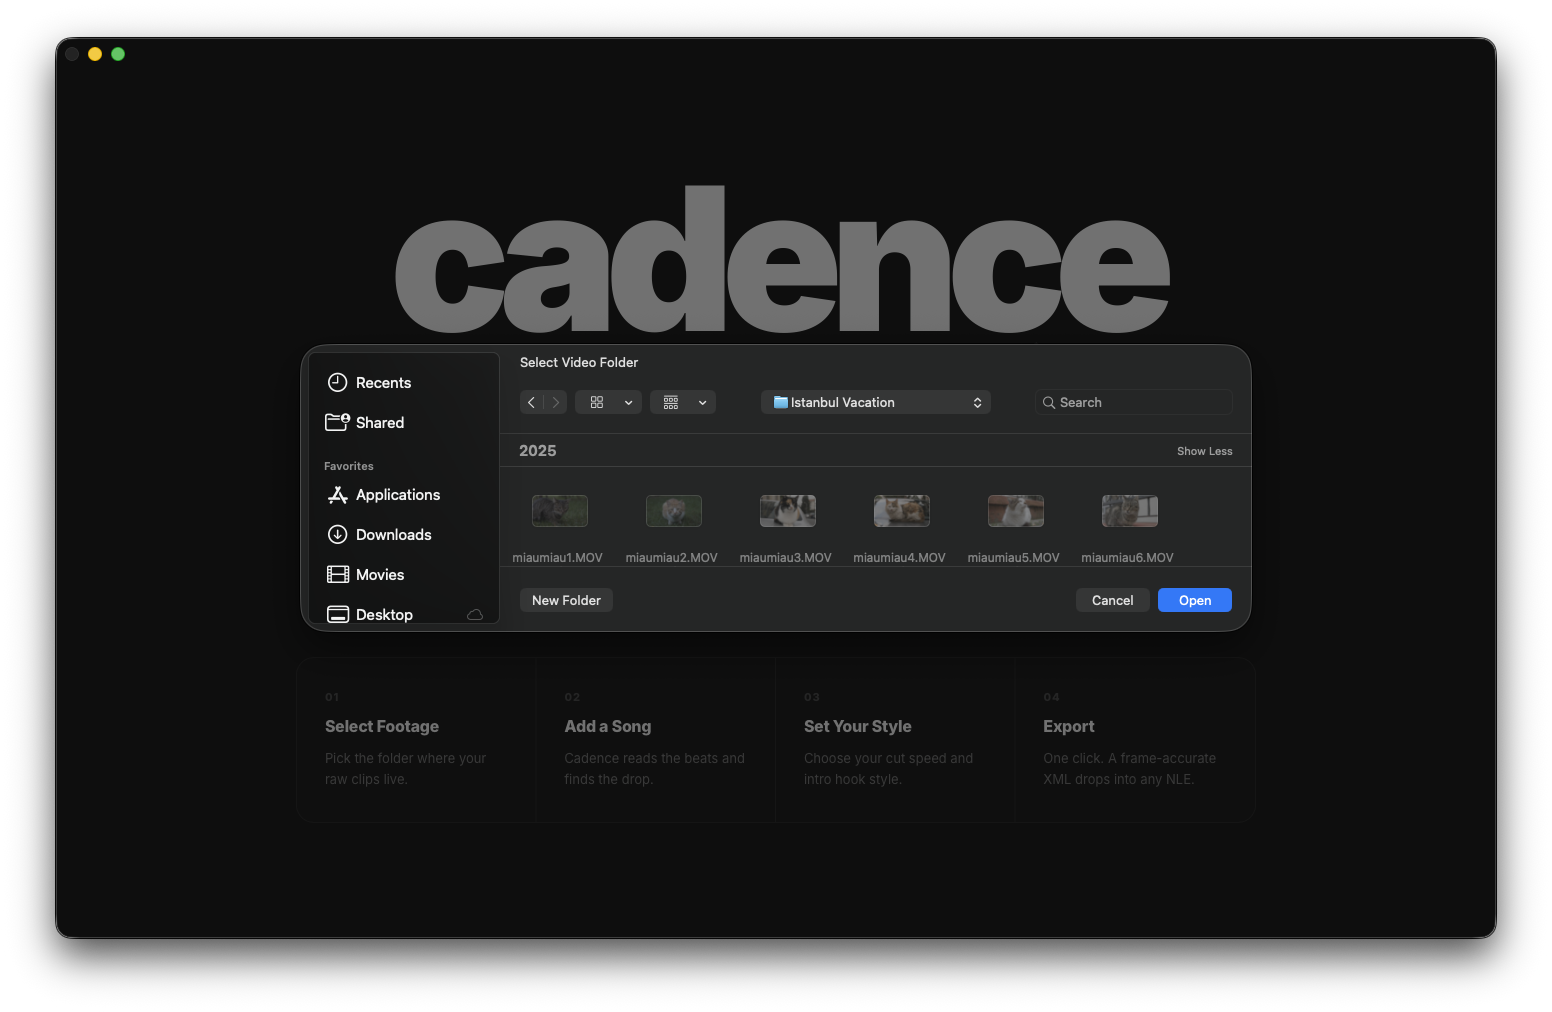
Drop your video folder or use import, then wait for thumbnails. You do not need ratings, but if you hover clips and mark skip, hero, or keep, Auto uses that when it builds the cut.
Add your track. In Auto, Cadence follows the beat. In Markers, press M or double-click the waveform to add markers, then assign clips. When you are ready, export XML. Cadence builds the timeline first.
Export and save the XML beside your media so relinking stays straightforward.
Resolve: File → Import → Timeline. Premiere and Final Cut: import the XML from the File menu. If you are prompted for media, use the same folder as in step 1.
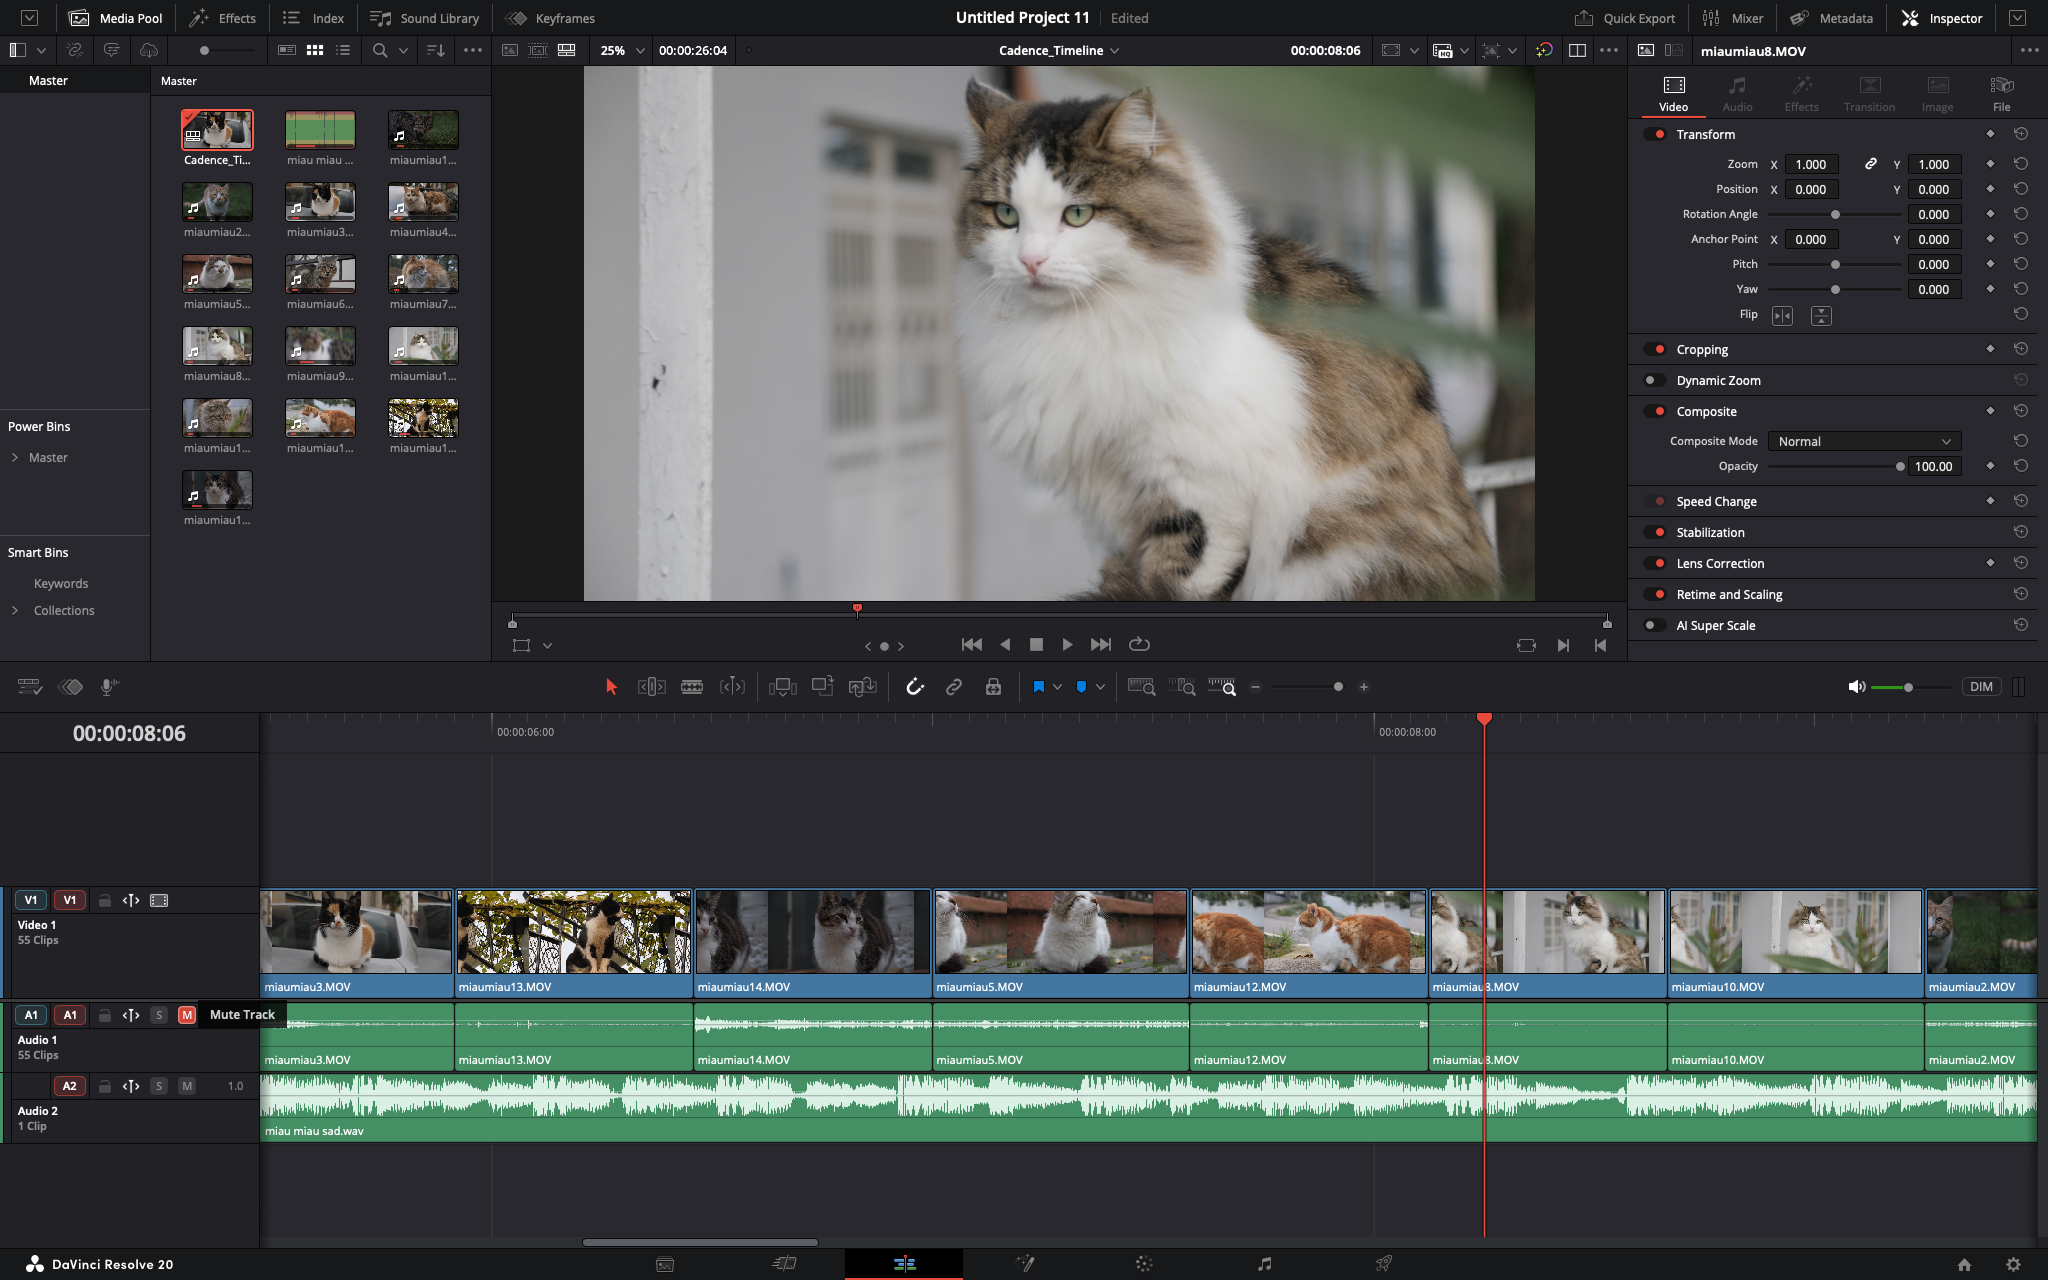
After import, see the sample finished timeline in the next section.
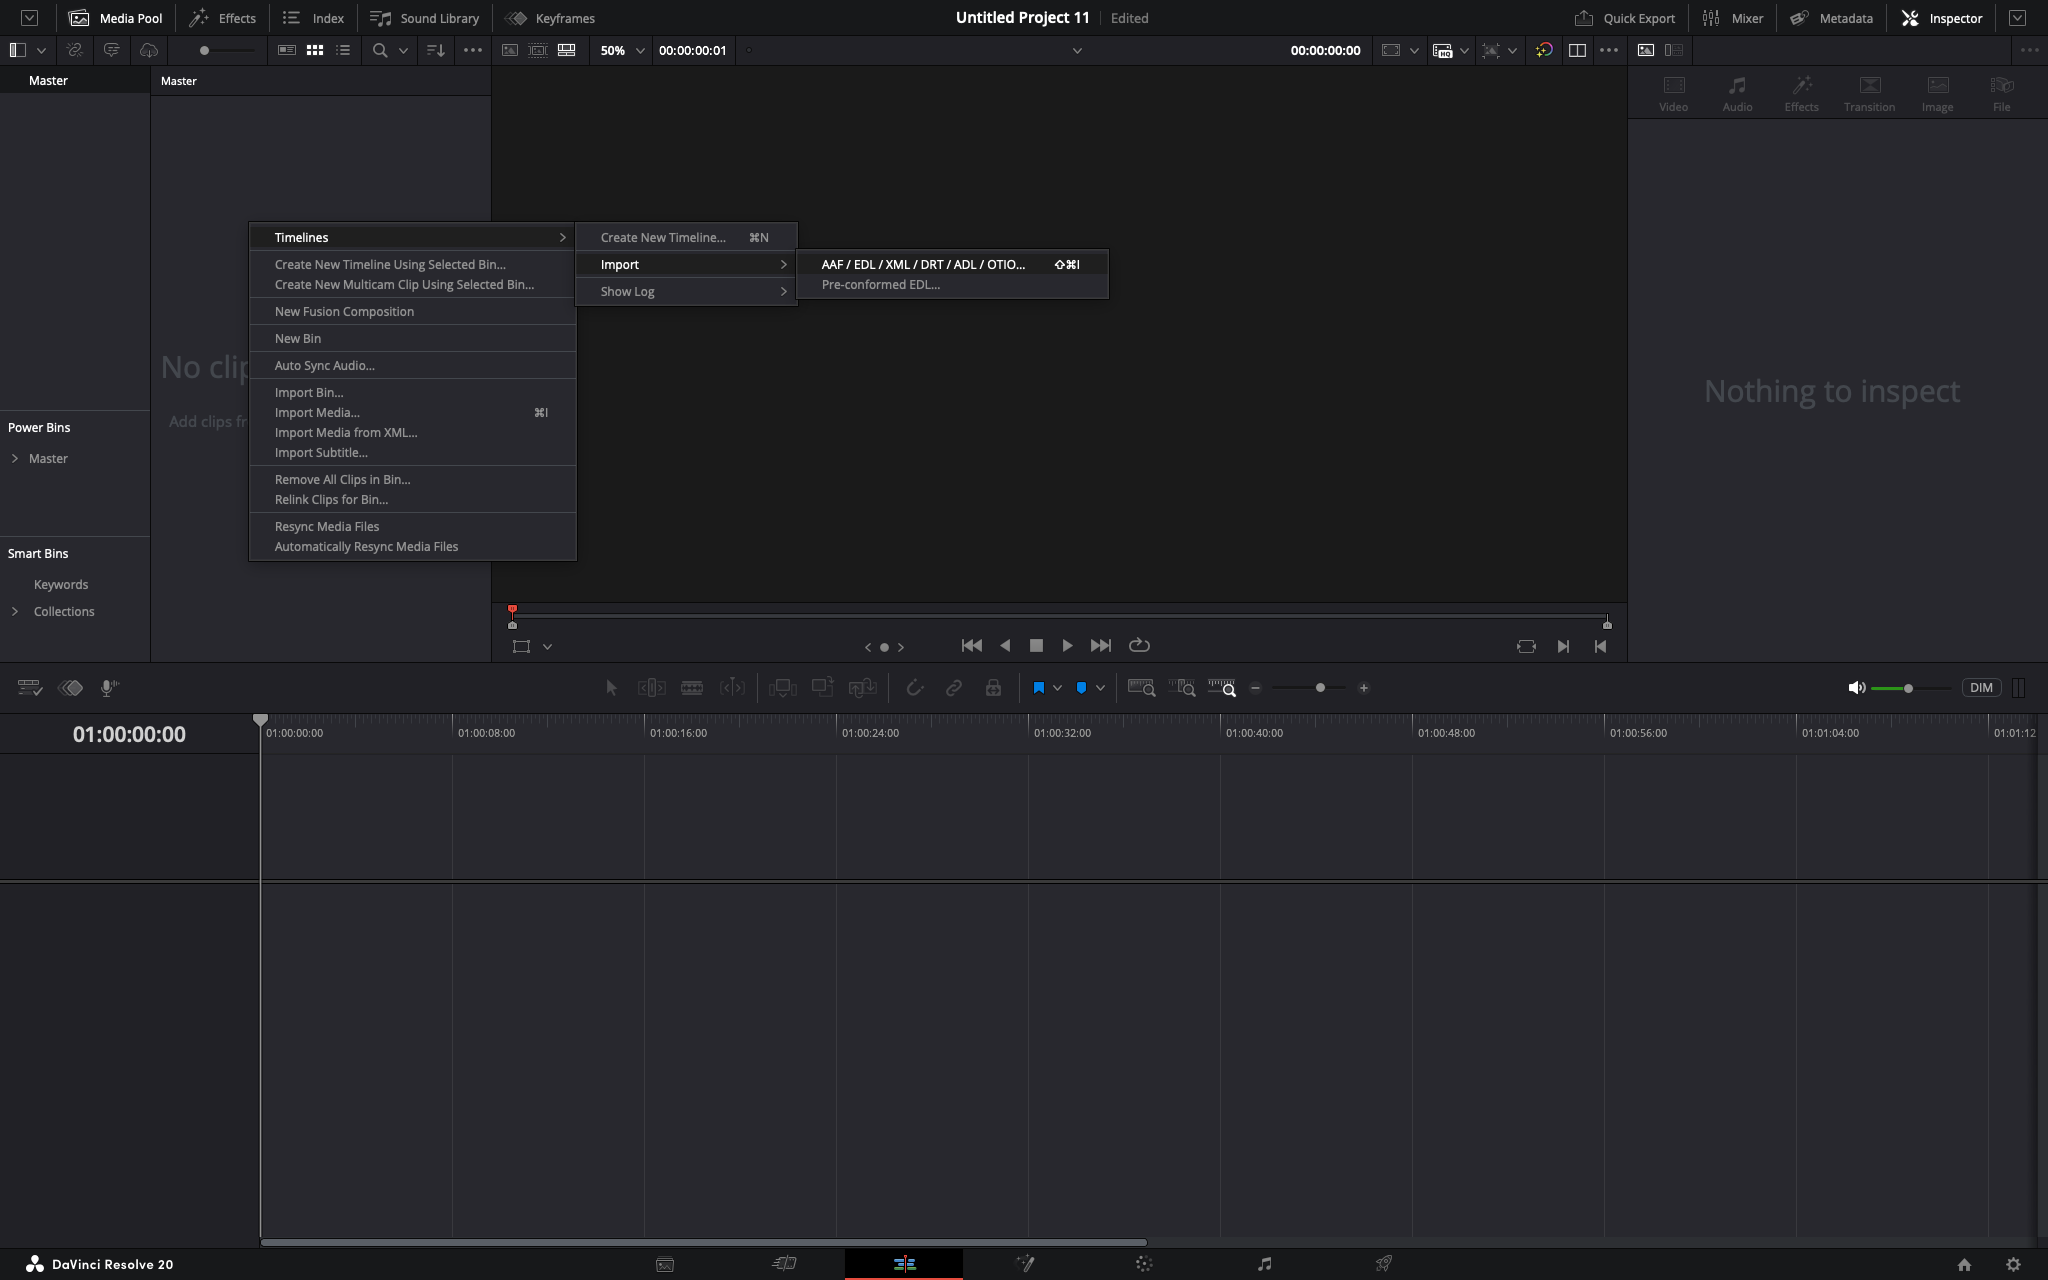
Open the XML.
Import in Resolve, Premiere, or Final Cut. Edit the project as usual. FCPXML and offline media are supported.
01
Export from Cadence.
Export XML and keep it next to your footage.
03
Finish the edit.
Clips are on the timeline. Grade, mix, deliver.
Try it on your next video edit.
Free to install. No subscription.